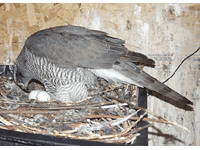
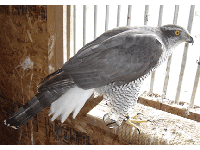
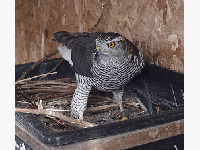
Photo Gallery
Photos Courtesy of Rob Morgan
Back